
Developing a SpringBoot 3.0.0 project with Fleet on deepin
Preface
Fleet is described as the next-generation IDE built by JetBrains. It is currently in public preview and can be downloaded for free. SpringBoot 3.0.0 has a minimum requirement of JDK 17, which might be a significant step toward moving on from JDK 8.
Out of curiosity about new tools and technologies, I tried developing a SpringBoot 3.0.0 project with Fleet on deepin to continue my SpringBoot learning.
Install Fleet
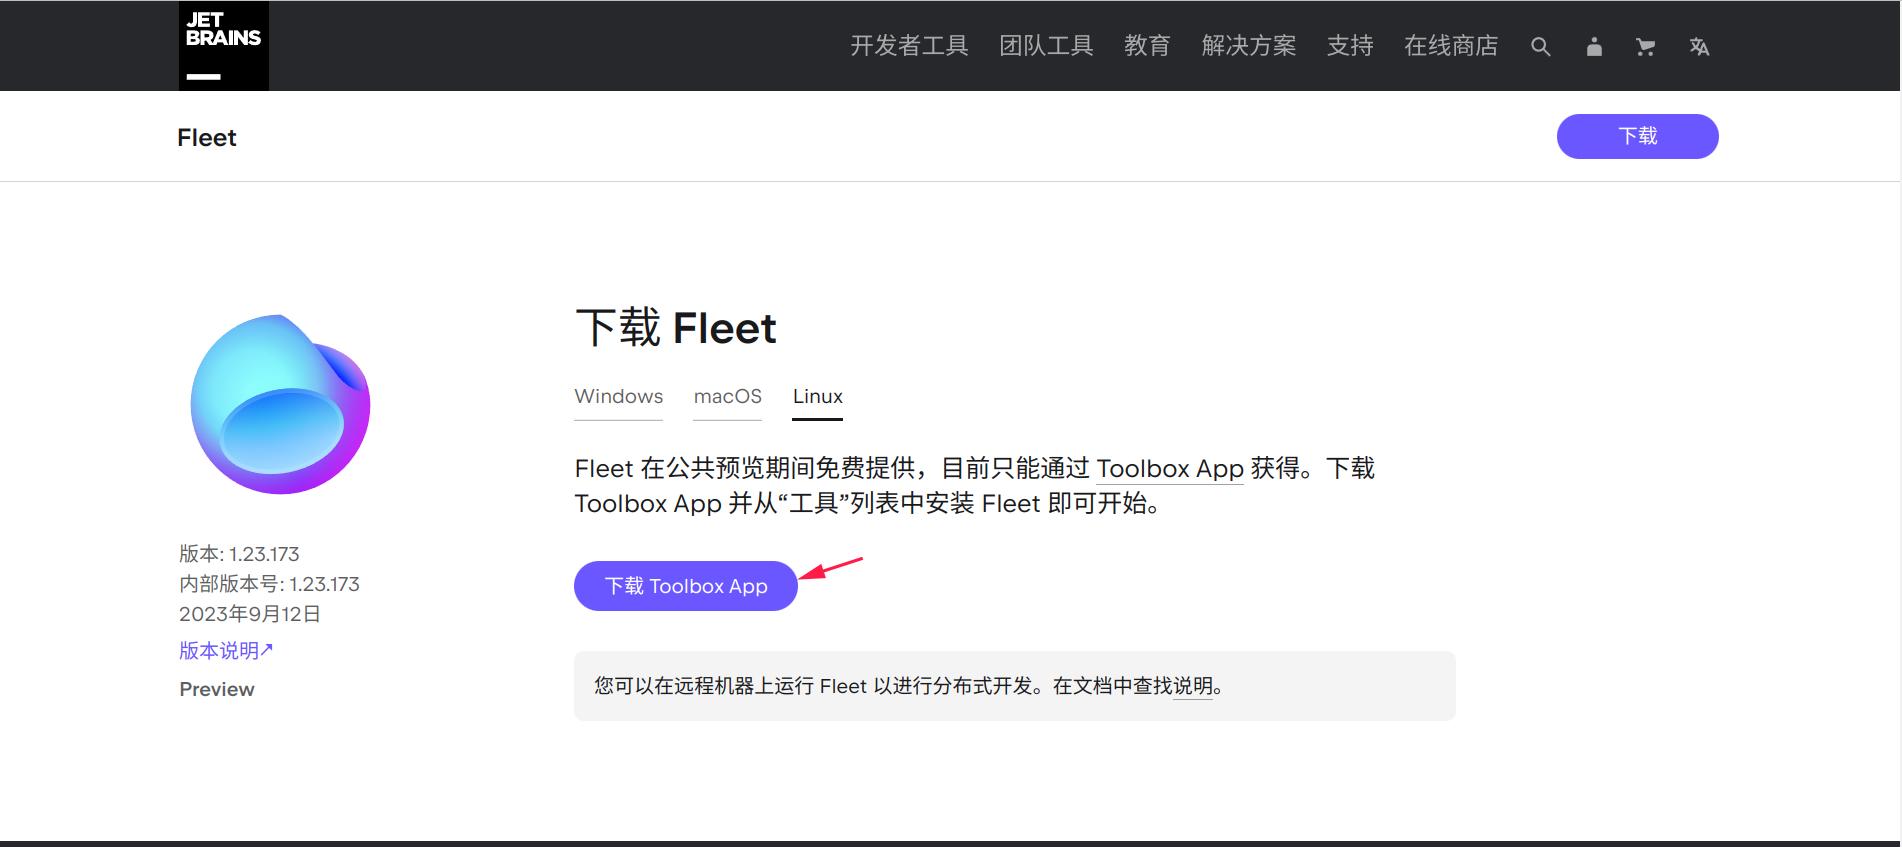
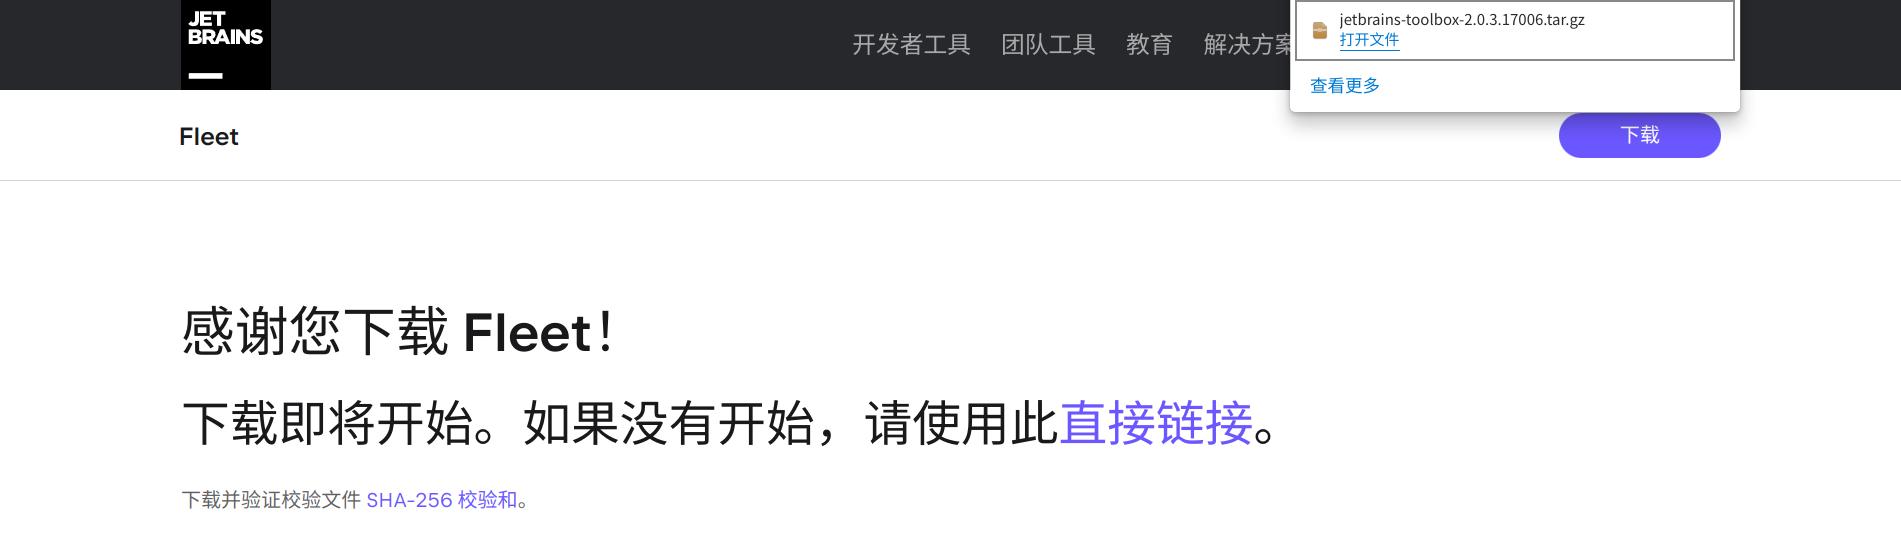
On the Fleet download page, click “Download Toolbox App”. A tar package will be downloaded. After extracting it, double-click the executable inside to install Toolbox automatically.
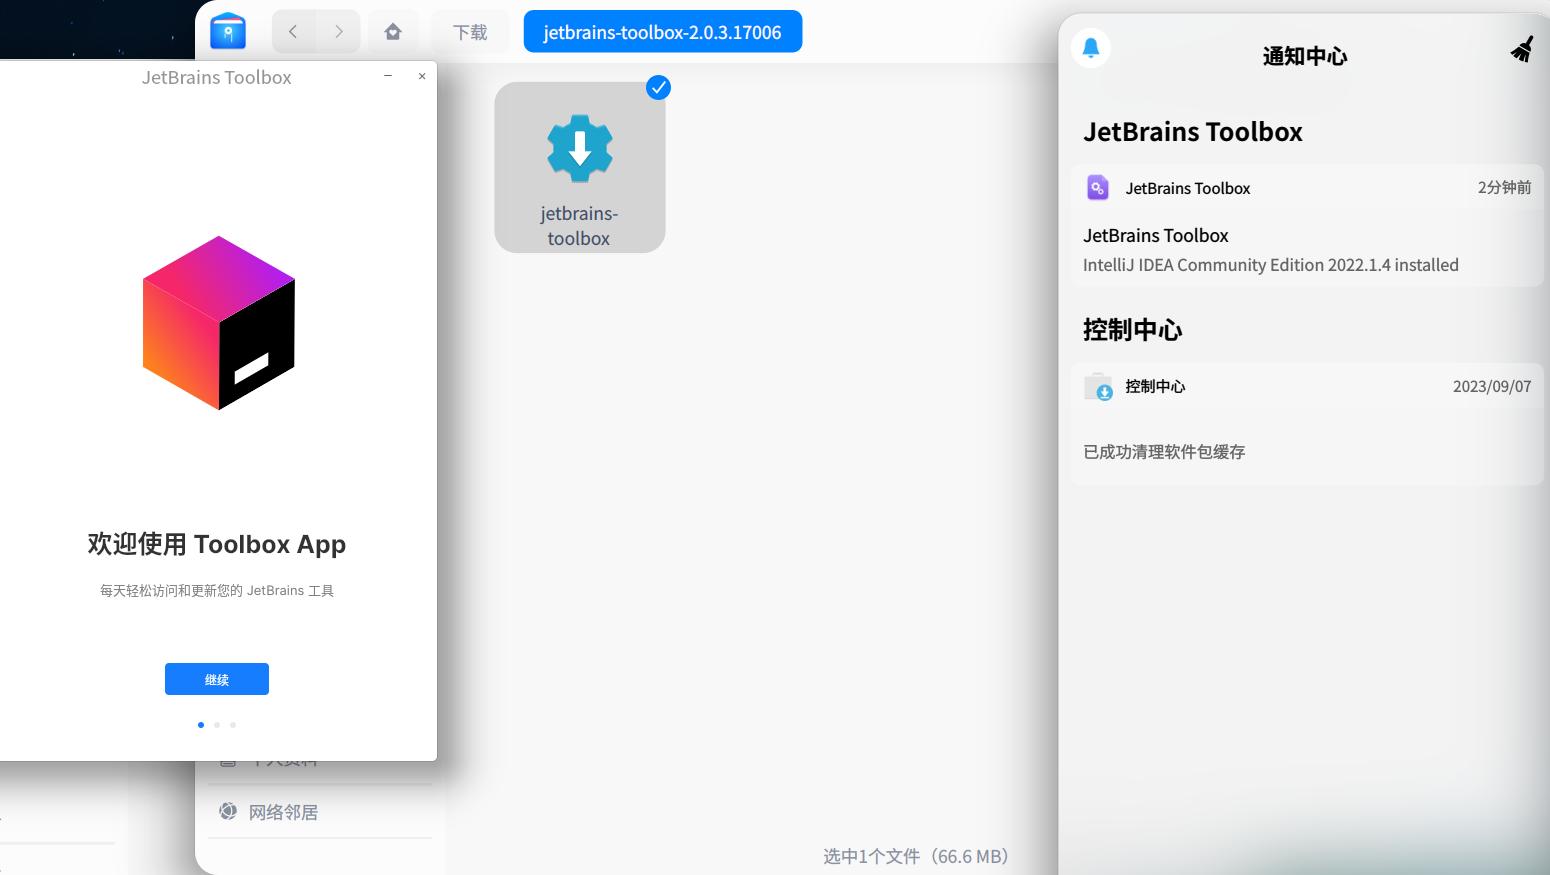
Install Fleet in Toolbox. After opening it, you’ll find it is very concise and free-form, with fewer dedicated areas and optimizations for environment configuration. So you need to configure some development environments yourself, such as JDK and Gradle.
Install OpenJDK
Download OpenJDK 17 from Adoptium:
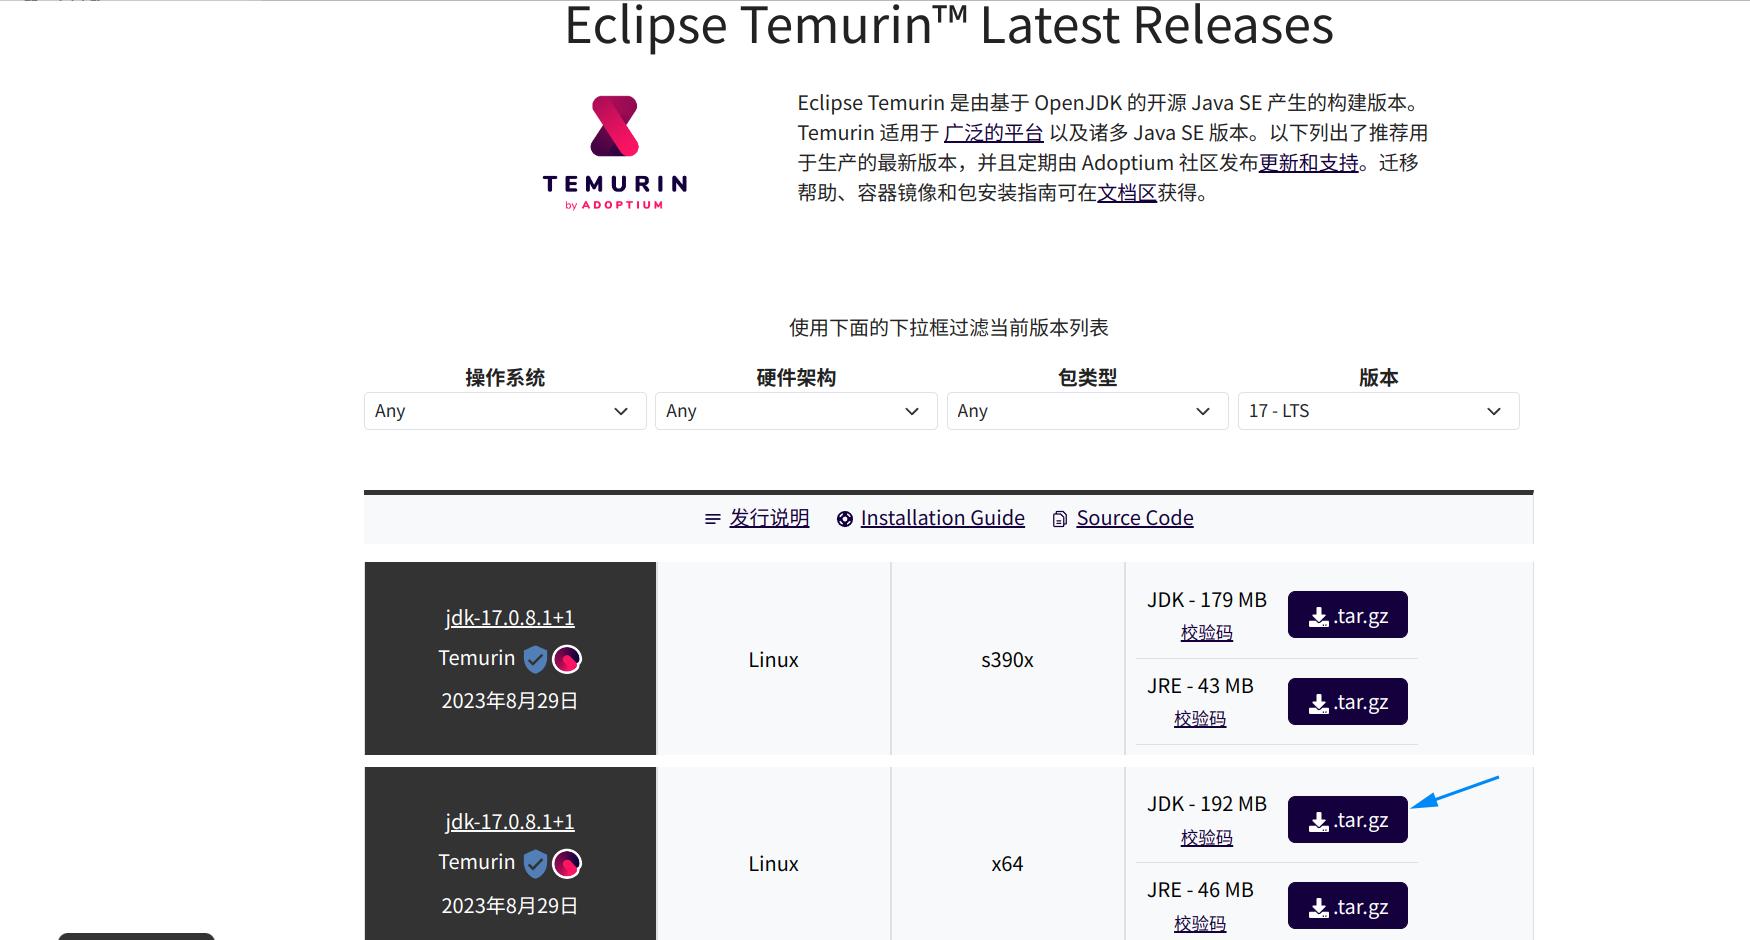
After that, run the following steps in the download directory:
tar -zxvf OpenJDK17U-jdk_x64_linux_hotspot_17.0.8.1_1.tar.gz
mv jdk-17.0.8.1+1/ /usr/local/jdk
(If /usr/local/jdk doesn’t exist, you need to create it with sudo mkdir /usr/local/jdk, and use sudo chown -R your_username:your_username /usr/local/jdk to change ownership to your current user. The goal is to keep multiple JDK versions on one machine.)
Then add environment variables. Run vim /etc/profile.d/java.sh, and add or modify the following in the file:
export JAVA_HOME=/usr/local/jdk/jdk-17.0.8.1+1
export CLASSPATH=.:$JAVA_HOME/lib/dt.jar:$JAVA_HOME/lib/tools.jar
export PATH=$PATH:$JAVA_HOME/bin
If this is your first time configuring it, grant permissions to the file:
sudo chmod 755 /etc/profile.d/java.sh
sudo chown login_username:login_username /etc/profile.d/java.sh
Run source /etc/profile.d/java.sh to reload environment variables, then run sudo vim ~/.bashrc and add source /etc/profile.d/java.sh at the bottom of the file, then save.
Use java -version and javac -version to check whether JDK is configured successfully.

Install Gradle
Create a gradle directory under /usr/local:
cd /usr/local
sudo mkdir gradle
sudo chown login_username:login_username /usr/local/gradle
Then enter the directory, download the Gradle package with wget and unzip it, then delete the zip:
cd gradle
wget https://downloads.gradle.org/distributions/gradle-8.3-bin.zip
unzip gradle-8.3-bin.zip
rm -rf gradle-8.3-bin.zip
Now there is only a gradle-8.3 folder under gradle. This makes it easier to switch when multiple Gradle versions exist.
Similar to configuring the JDK env vars, create Gradle environment variables with sudo vim /etc/profile.d/gradle.sh:
export GRADLE_HOME=/usr/local/gradle/gradle-8.3
export GRADLE_USER_HOME=$GRADLE_HOME/repo
export PATH=${GRADLE_HOME}/bin:${PATH}
Run source /etc/profile.d/gradle.sh to reload environment variables, then run sudo vim ~/.bashrc and add source /etc/profile.d/gradle.sh at the bottom of the file, then save.
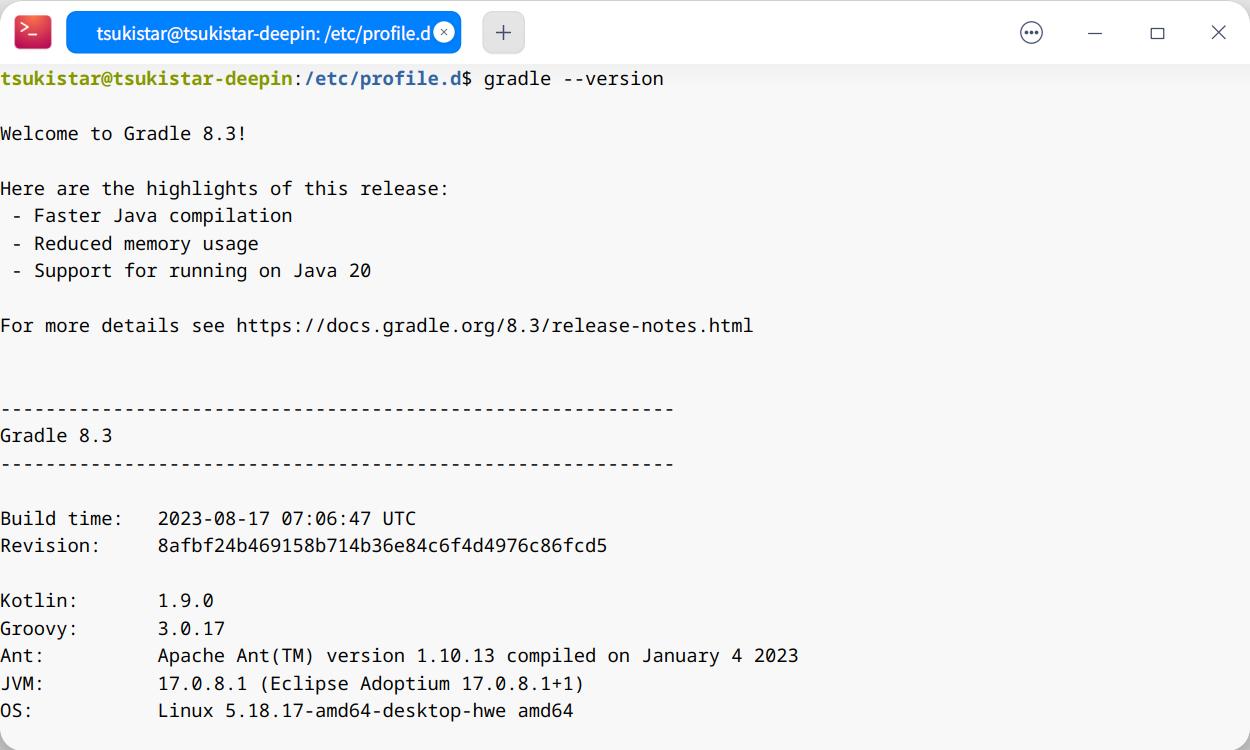
Use gradle --version to check whether Gradle is installed successfully.
Create Project
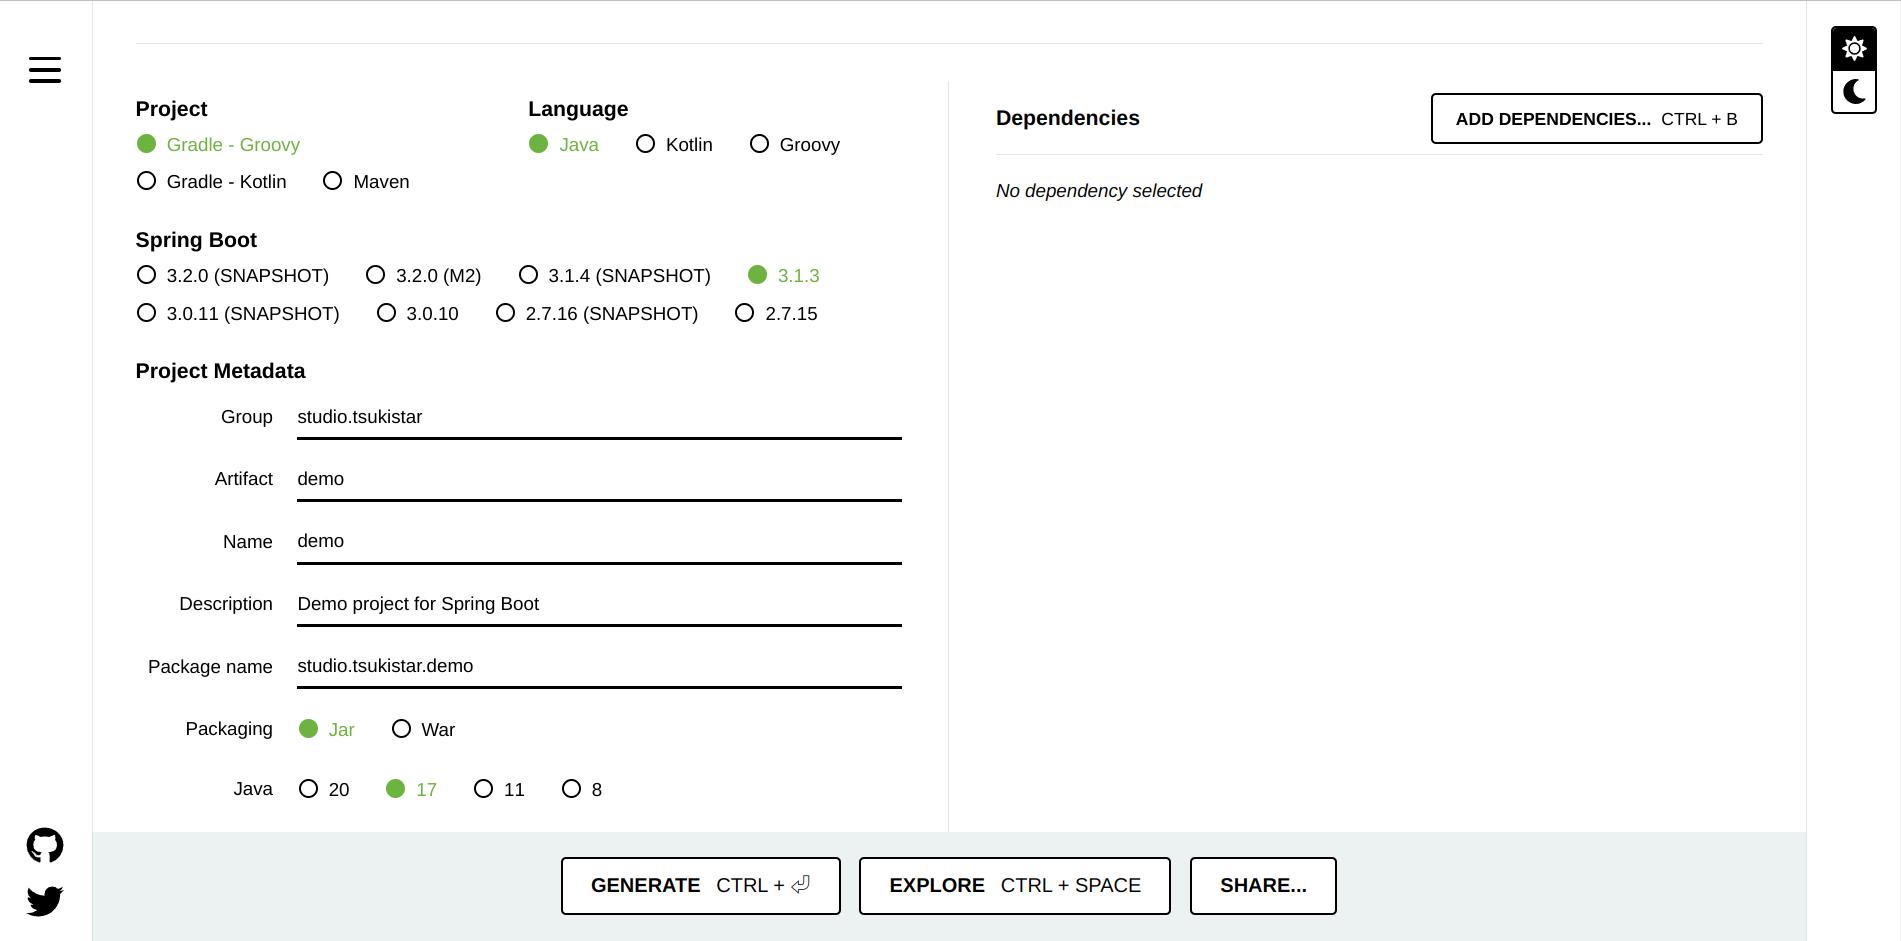
Create a SpringBoot project with Spring Initializr, choose build tool, language, version, and fill in package name, as shown below:
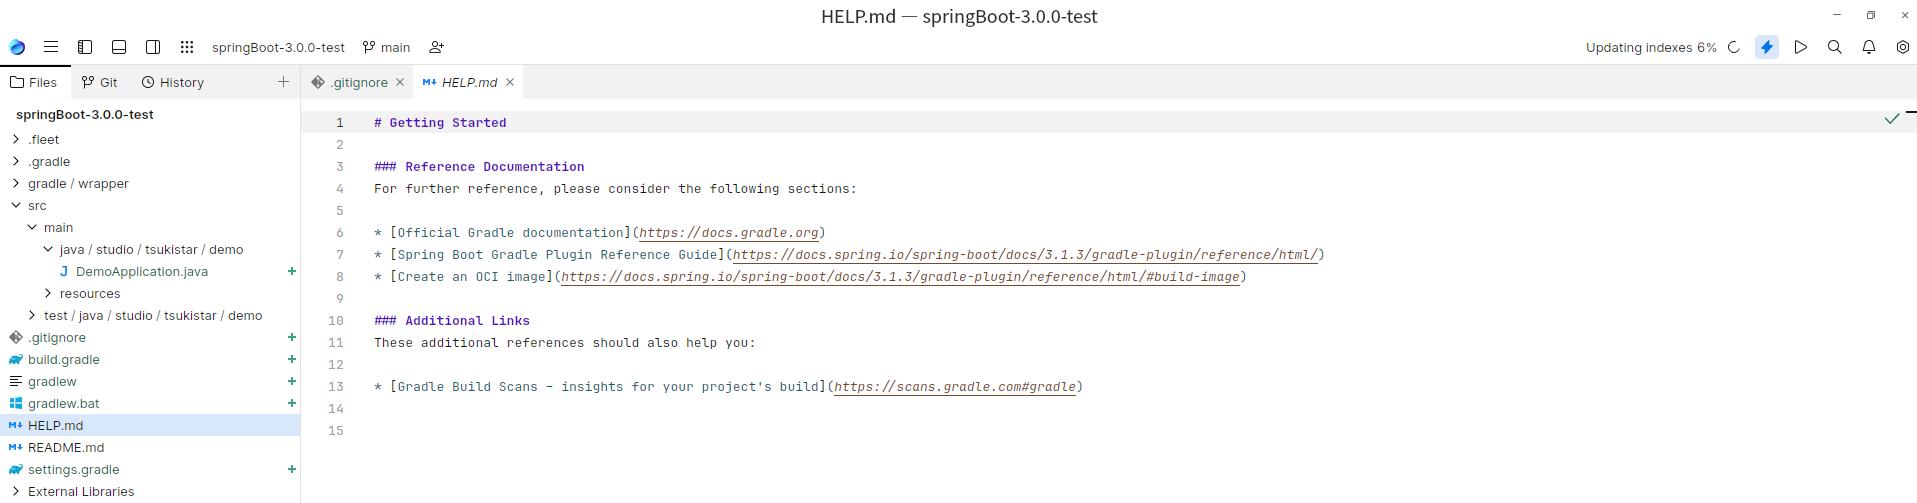
Then click “GENERATE” to download a zip. Extract it, then open the extracted folder in Fleet. Fleet will automatically initialize based on the Gradle config files:
Add server.port=8000 into /src/main/resources/application.properties to specify the port. Then add a controller (for example under /src/main/java/Controller) as shown below, to return “Hello SpringBoot” on a specific path:
package studio.tsukistar.demo.Controller;

import org.springframework.web.bind.annotation.GetMapping;
import org.springframework.web.bind.annotation.RestController;

@RestController
public class testController {

    @GetMapping("/hello")
    public String hello() {
        String hellotext;
        hellotext = "Hello SpringBoot";
        return hellotext;
    }
}
Use Ctrl+R or click the Run button in the top-right corner. Fleet will build and run automatically. Then open http://localhost:8000/hello in your browser to see the result.

Summary
As a lightweight IDE that JetBrains wants to promote, Fleet still has many things to improve in actual usage.
Fleet has some advantages. For example, in smart mode it can automatically build, index, etc. based on the files in the project folder. Its code completion shows relatively complete information. It also supports Alt+Enter to fix errors, which feels comfortable for someone who has used JetBrains products for a long time.
But compared with the advantages, there are still many disadvantages. Taking SpringBoot development as an example, because there is no plugin support and no dedicated “new project” flow based on project type inside Fleet, beginners almost have to rely on third-party tools (like Spring Initializr) to complete project initialization and build. Also a small complaint: Fleet’s internal Git management couldn’t select that file when .gitignore was modified, so you couldn’t “select all” with one click. It was worse than using git commands in Terminal. (In later versions, the official fixed this issue.)

Overall, I personally don’t recommend Fleet at the moment. It doesn’t have a guided flow like specialized IDEs, nor does it have the rich plugin ecosystem like VS Code. Hopefully many features will be improved in later versions and the experience will get better.
References
Unless otherwise stated, all articles on this blog are licensed underCC BY-NC-SA 4.0license. The author reserves all rights. Please credit the source if you wish to reprint.